Finance
Review and pay reimbursements
Complete finance approval, prepare payments, and confirm paid reports in the payment queue.
Open the finance view
Open reimbursements and sign in with your finance account. Your finance access comes from the church's configured finance group. Complete personal payment settings on your first visit to access reports and reviews.
Finance can see submitted reports across purposes. Open Approvals to see Awaiting your approval first, followed by other Active reports. Older reports are available through Show older.
Complete finance approval
- Open a report awaiting finance approval.
- Review the purpose, categories, descriptions, dates, amounts, and GST treatment.
- Use the eye icon on each line to view its receipt.
- Choose Approve, or enter a reason and choose Reject.
Rejection returns the report to the claimant. After they edit and resubmit, it goes through purpose approval and then finance approval again.
Categories cannot be changed during finance review. If something needs correcting, reject the report with a clear explanation. Finance approval must be provided by someone other than the claimant and the person who gave purpose approval.
Arrange payment
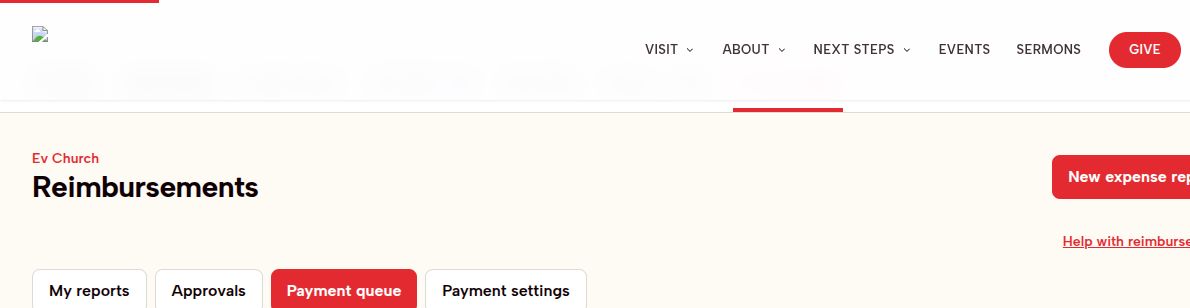
Open the Payment queue to see reports ready for payment.
After finance approval, the report moves to Awaiting payment. Finance receives an email with payment details and a PDF expense summary. The purpose approver receives a summary without bank details. The PDF includes the expenses in a table, followed by the receipts. Shared receipts appear once. Receipt pages contain the uploaded image or original PDF pages, without added headings or branding. Receipts can also be viewed through the website.
Make the bank payment outside the website using the supplied payment details. The website does not transfer money or send the claim to an accounting system.
If a report awaiting payment needs changes, open it, enter a reason, and choose Return for changes. The claimant must correct and resubmit it through the approval process.
Confirm completed payments
- Open Payment queue.
- Select the reports you have paid. On mobile, select individual report cards or use Select all. On a computer, use the checkbox at the top of the table or select individual rows.
- Check the selected count and total.
- Choose Confirm Payment.
The button is available only when at least one report is selected. Confirmation marks the selected reports as Paid and sends the claimant a payment confirmation. Only confirm payments you have actually completed.
Paid reports are read-only and appear under Show older. Activity records who confirmed payment and when. There are no payment reference, payment date, or batch fields to fill out.
Manage reimbursement settings
Finance and website administrators manage reimbursement settings in the Payload admin panel. They can add, rename, or archive expense categories and configure the senior pastor, alternate approver, and finance notification email.
Purposes and finance membership come from Rock. Pending purpose approvals follow the current assignment in Rock; approvals already completed remain valid.
Contact us if you cannot access finance functions or need help with a paid report.